When we were kids in the bush, every Queens Birthday weekend, we would have a huge bonfire in someone's paddock. Over the year all the fallen timber would be gathered up in readiness and we would save our pocket money for fire crackers. Great fire crackers, catherine wheels and penny bungers, sky rockets and big flash stuff. Just the most fun night for kids. The fire usually started so hot and high that no one could get within 6 metres of it. The adults relaxed and caught up and the kids had the delicious fun of playing in the dark the excitement of the crackers, and the wonder of it all.
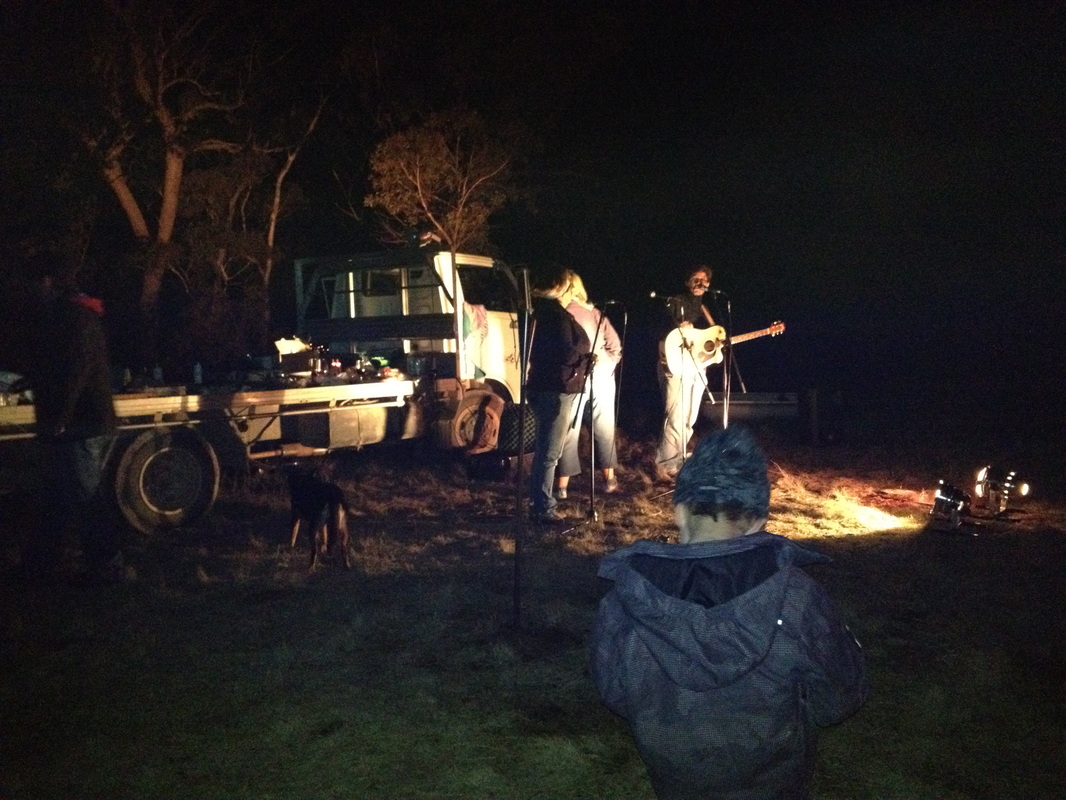
Last weekend we attended a bonfire that was truely magnificent, sparks 20 meters into the sky as it was lit, guitars and great pots of warming food we had a great night. But, no Crackers, something lost for this new generation. What are your Bonfire memories?
Last weekend we attended a bonfire that was truely magnificent, sparks 20 meters into the sky as it was lit, guitars and great pots of warming food we had a great night. But, no Crackers, something lost for this new generation. What are your Bonfire memories?
 RSS Feed