The rabbit skins are tanned and I am relatively pleased with the results. But like everything we do the first time is the learning time and I would make a better job next time. The removal of the membrane on the skin needs almost fanatical attention for the best result, and working the skins before they become too dry to break them is so much easier than when . I think I will make them into a rug/blanket by cutting them into squares and sewing them together. I need about another 60 skins so it will be a work in progress. I also need to work out how to sew them together. I read that you can use a sewing machine, but I am not convinced that my machine would cope with the thickness. I guess I will need to experiment.
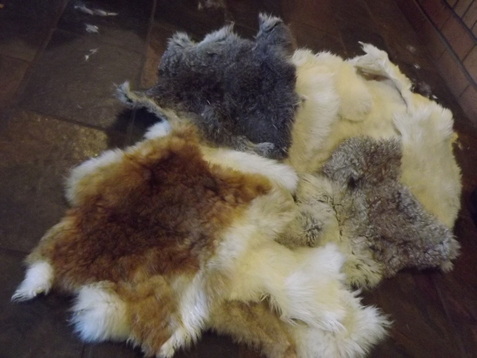
Tanned skins
The method for tanning, for anyone interested.
Wash the skins to get any blood off them and remove any fat or meaty stuff sticking to the skins.
Add I cup of Salt and 1 cup of alum to 5 litres of water mix well and add the skins, we used a tub so the skins had plenty of room. Soak the skins in this for 2 days stirring twice a day to make sure every surface is getting plenty of contact with the solution.
Next the skins need to be fleshed - this is the removal of the fatty tissue and flesh to expose the actual leather so it is exposed to the chemical action. Rabbits have a clearly defined under tissue which, after the first soaking can be peeled of in one piece if you are careful, once this is done put them back into the solution and keep up the stirring twice a day routine for another seven days.
Next remove all of them from the solution and squeeze out the excess liquid. Then wash each pelt in a mild detergent, then rinse well and squeeze out excess liquid again.
Now, we are up to working the leather- the hides need to be stretched and worked to soften the leather as it dries. This works best while it is slightly damp, you can feel and see how well the softening is going as the skins are worked. Because the rabbit skin is thin, I think this process is easier than if you were tanning a sheep or cow skin. Also dry in the shade so they don't dry too quickly.
When it is dry give the fur a good brushing and put a little leather dressing on the skin side. Not sure what product is best for this. Easy.
Most of our method came from Martin's Aunty Margaret Abbott's instructions and Mother Earth News website.
 RSS Feed